Fortunately, my brother Kurt, who works with Zodiac boats, was coming into
town, so he brought a Hulk'in leak repair kit with him
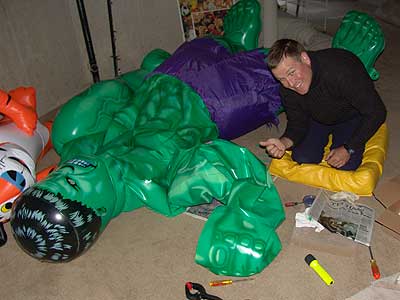
and patched up the Big Green Guy and the
following week, Hulk once again
provided some
levity to the 2005 neighborhood parade and was the undefeated
champion of the Belly Flop into the pool contest.
Scroll on down for the whole saga and/or use these shortcuts to
is there a leak? -
finding the leak -
fixing the leak -
testing the leak.
Does the Hulk have a leak?
The Big Green Guy has stood up to some pretty serious punishment (Hulk STRONG!)
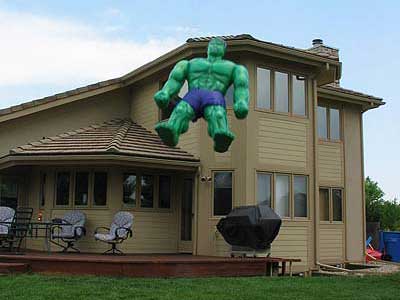
as can be seen in the pictures below ... but finally something gave.
So the first step in fixing a leak is knowing you have one (usually fairly
easy to determine, but can be deceptive for small leaks) and in this case,
the Hulk's right arm was ... wellll ... a bit flabby! ;-)
|
|
|
 |
 |
|
|
Finding out where the leak is
The second step is determining where the leak is. Easy to do if it is
a big leak, but it rarely is. For bicycle tires, you simply pump 'em up,
an then submerge/run the tire through a bucket of water and look
for bubbles. Another approach is using a spray bottle water (optionally
add soap) and spray it on the area where you think the leak might be.
Both are pretty easy leak testing with a bike tire ... but a bit harder with
a 9' tall green monster!
I thought about tossing him into the pool again per the picture above,
but since he would need to be submerged to see the bubbles, that was
quickly discarded as an idea since it would require a LOT of weight.
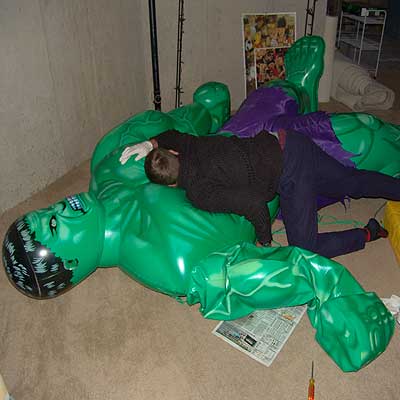
So I blew air into his arm and Kyle & Kurt used various means
to apply pressure on the Hulk ... and the good news is I heard the tell-tale
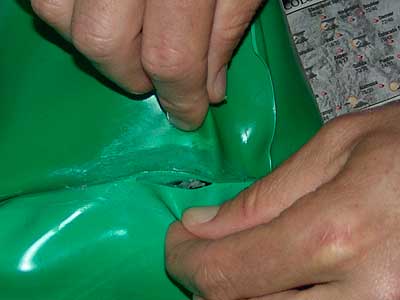
sound of a leak - hissssss. The bad news is that it was on a seam between
his arm and chest ... and seam leaks are very difficult to fix.
|
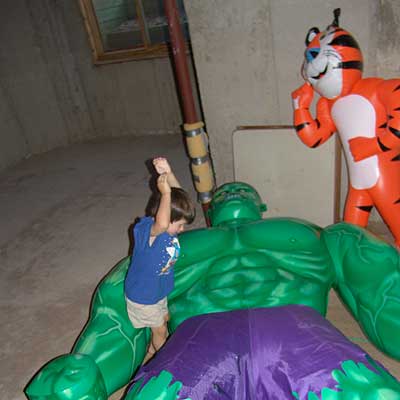
Kyle providing chest compression - CLEAR! |
Kurt listens for a hearbeat with a "Hulk-Hug" |
 |
 |
|
|
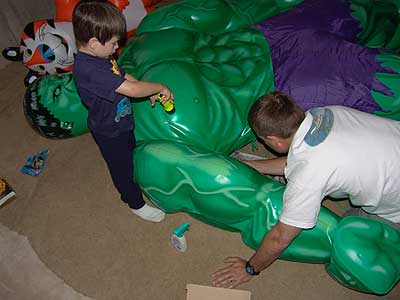
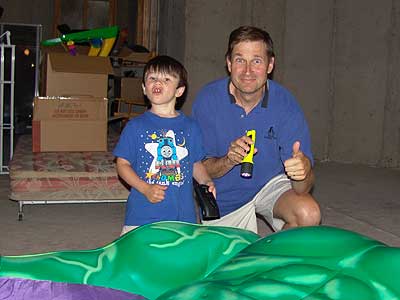
Kyle provides some light |
And here is the leak - right on the seam - darnit! |
 |
 |
|
|
Fixing the Leak
Patching a tire or even the Hulk isn't that hard if it's a cut or tear
in a flat area. However, in this case, it was a on a seam ... and complicating
that was that a number of folds came together there. Fortunately, Kurt
had brought his
zodiac boat repair kit. This included a set of patches along with some MEK (Methyl Ethyl Ketone)
which is a gnarly solvent and Zodiac Universal Glue #7097 along with an
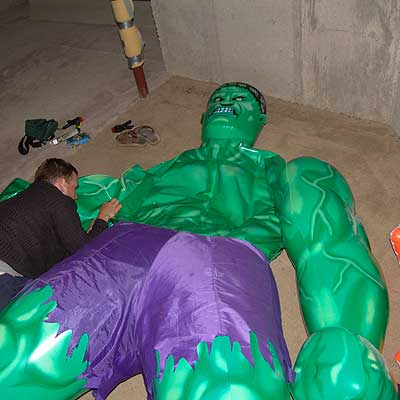
accelerator. After thoroughly cleaning
the location, the MEK is used to make it really spic-n-span ... you basically
apply it and then wait about 5 minutes ... and repeat if neccessary.
When repairing a bike tire, you typically rough up the surface, but that's not
needed here; Zodiac Glue #7097 is some serious glue!
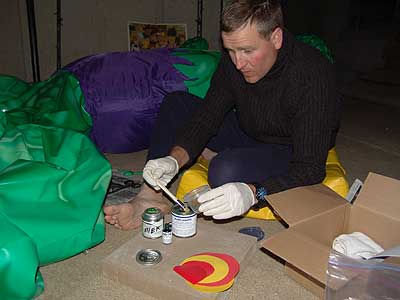
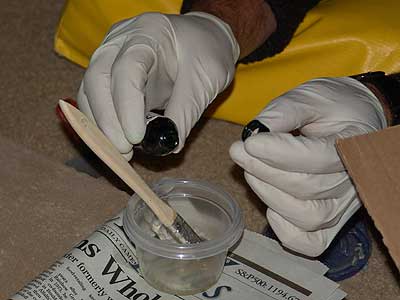
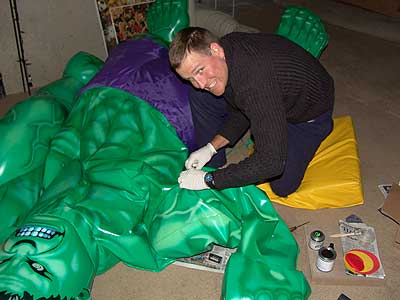
Meanwhile, Kurt mixed that and the accelerator together to get them going
and then applied a thin coat around the leaky seam and on the patch itself.
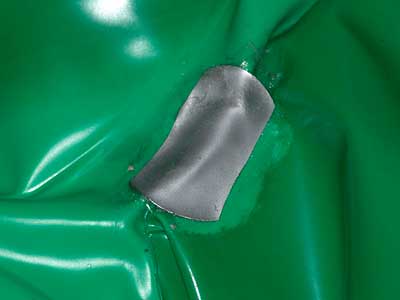
After about 10 minutes, he applied another coat, and then put the patch
over the seam. This ended up being pretty darn difficult, since there
were folds coming in from every direction. We finally had to prop a
round can underneath the Hulk's arm to get a decent flat spot
to place the patch. Some stone bricks were placed on top of a newspaper
to provide some pressure to the patch area.
|
Kurt aka Dr. Leak Repair picks out patch |
Deflating chest chamber and applying MEK solvent |
 |
 |
|
|
Dr. Kurt mixes up Zodiac Glue #7097 |
Adding the accelerator |
 |
 |
|
|
Dr. Kurt does imitation of the Hulk |
Applying the patch |
 |
 |
|
|
Patch applied |
Dr. Kurt says the Hulk is going to make it |
 |
 |
|
|
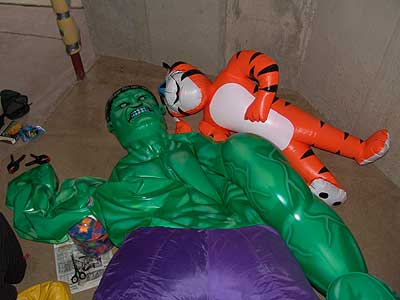
Kyle (aka Bob the Builder) hopes the Hulk will be OK |
Tony the Tiger also provides support |
 |
 |
|
|
Testing for Leaks - did the patch work?
Once you have patched up the Hulk (or anything else for that matter),
you need to confirm you actually fixed it. One approach is to pump it
up and let it sit and/or apply pressure - if there is a leak, it will
eventually lose air. But in this case, you have the advantage of knowing
where the leak is, so a best leak detector is pumping up the Hulk,
spraying some water (with optional soap) and looking for any bubbles,
since you know exactly where to look. BTW, I used the same type of
leak detector
when I converted my BBQ from LP to NG.
In the Hulk's case, there was a
tiny, tiny leak on the edge of the patch, so one of those folks messed up
Kurt's super Zodiac glue, But this was easily fixed by dabbing a little bit
of rubber cement and then the Hulk was ready for SMASHING again!
|
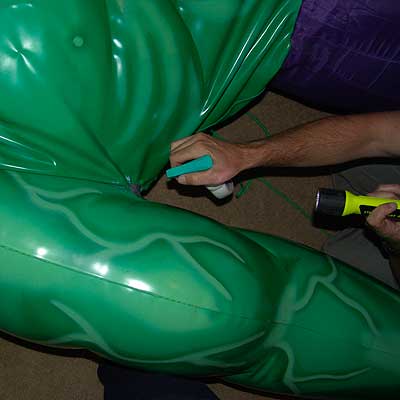
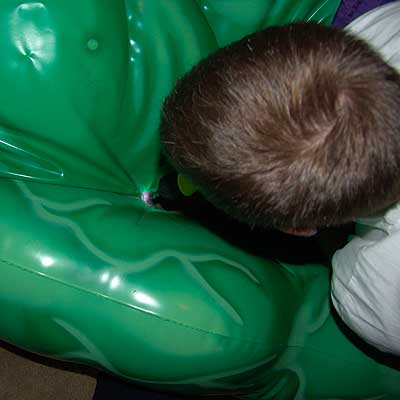
Spray area with (optionally soapy) water |
Kurt (no balding yet!) looks closely for bubbles |
 |
 |
|
|
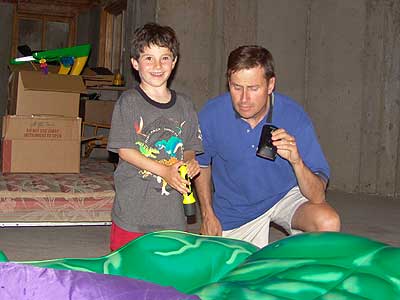
Dirk helps me check for leaks |
Kyle says the patch is SMASHING! |
 |
 |


