Drilling out Orifices on Member's Mark BBQ Grill for LP->NG
Last Updated May 20th, 2004
The orifice diameter controls how much gas flow occurs in the HIGH setting
(ON in the case of the back burner) and therefore sets the maximum
BTU output. If this is too small, your grill won't heat up fast enough
and/or be hot enough in general. Make this too big and you will "overrate"
your grill - you might not have enough air for clean combustion (yellow
flames are bad) and/or other stuff like maybe even melting your grill
I guess! ;-)
You will almost certainly need to increase the orifice diameter when
converting from LP to NG.
On this page, we'll show you how to remove/replace the orifices for
the three main burners, one side burner, and one back burner.
I'll show pictures of how to do it in that order with comments below.
You should have some idea of "about" the right size to drill out.
Be sure to read the notes about this in the
LP-NG Conversion Web Page.
Notice I said "about" above ... NG has different "heat/burn BTU's",
different pressure, and probably other things I'm not even aware of.
In my opinion, you want the grill to operate at the same BTU's as before
and/or provide the same amount of heat/temperature as before. Again, read
the notes in LP-NG Conversion Web Page
that talks about this "tuning/tweeking" process.
To state the obvious, it is much easier to drill a hole larger -
much more work to make it smaller ... so work your way up to
the "right" size.
Back to main BBQ Grill page
- © 2002-2004 www.komar.org
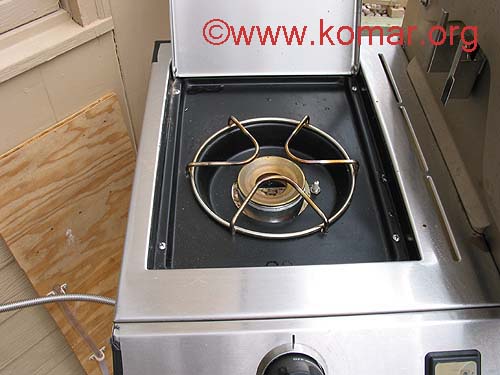
Main Burner
Remove the cooking grids & tamers so you just have the burner left.
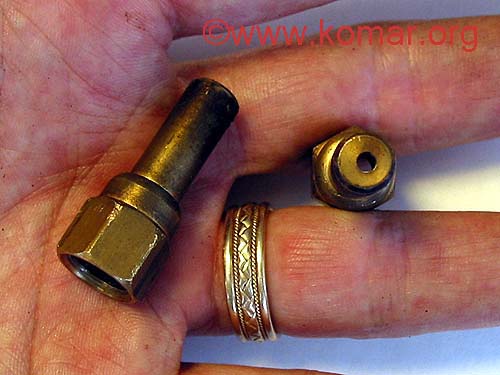
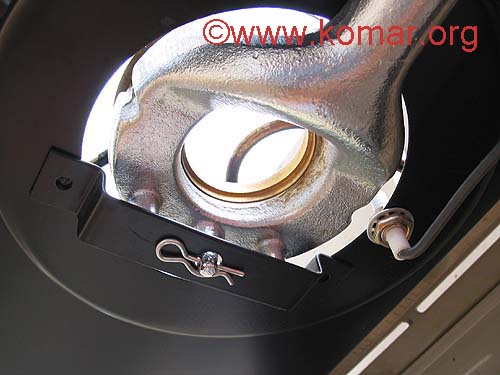
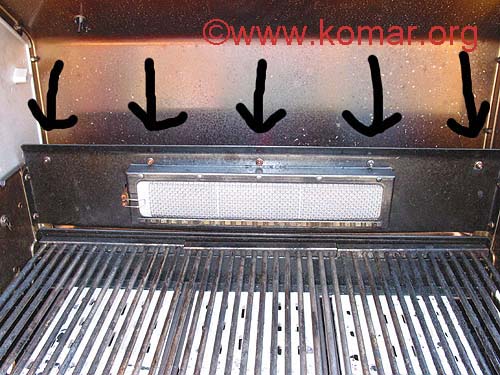
After removing the burner (cotter pin clip on the back) - orifice highlighted

Open ended wrenches recommended over channel locks to unscrew orifice - get at from below - comes off easy
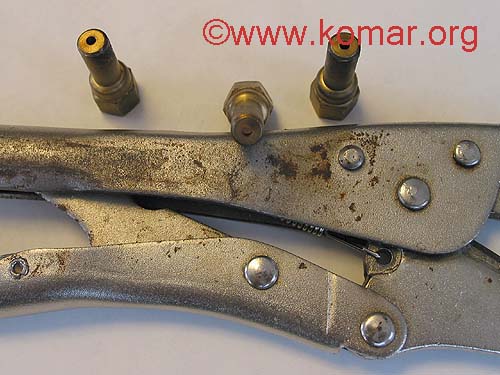
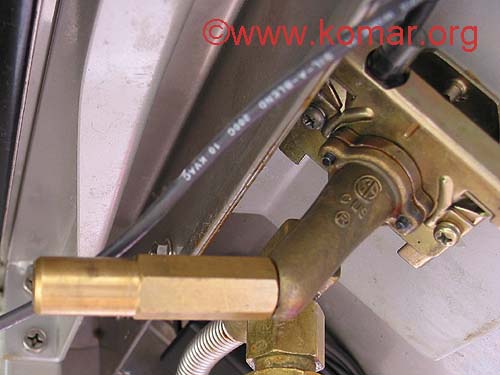
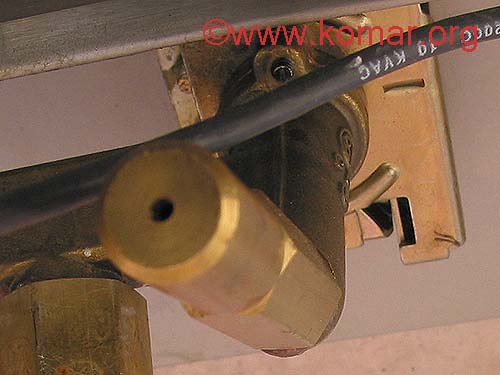
Here's a closeup - drill 'em out and reverse above procedure. Consider doping the male threads to the orifice. Do three times!
Side Burners
Top view of the side burner
Bottom view - orifice is highlighted

Remove the cotter pin and slide the burner up, forward, and out
Now you can unscrew orifice. Consider doping the male threads when you
put it back on.
Or you could even drill it out in place. Reverse above procedure and
you are ready to go.
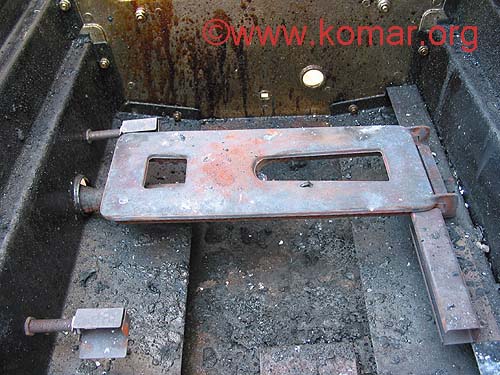
Back Burners
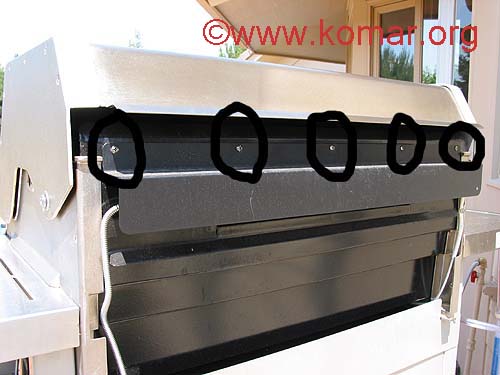
View from the frontside - note 5 screws/nuts
View from the backside - remove 'em and take off the cover
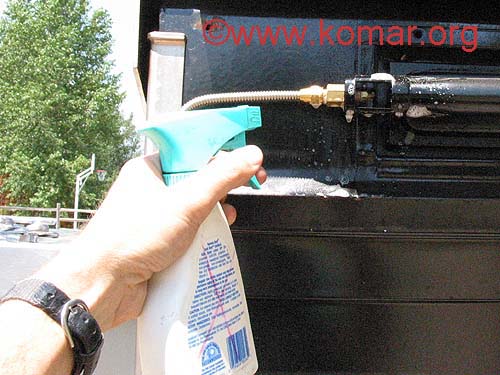
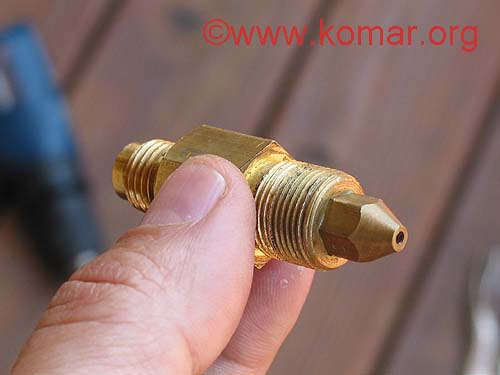
Here's the gas line, orifice, and burner
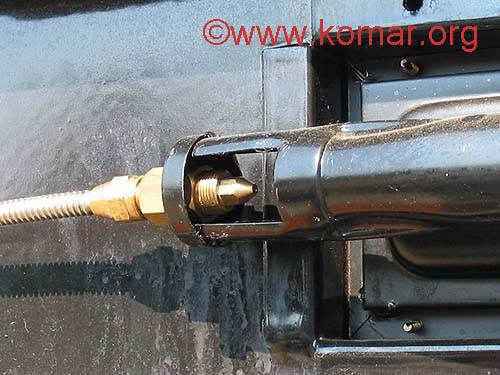
Spin gas line flare fitting off
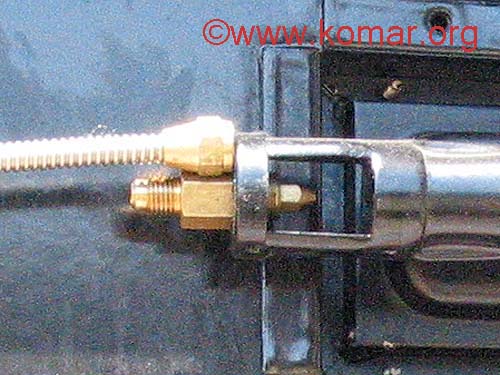
Using wrenches, needle nose pliers, fingers, etc., spin the retaining nut off
and the back burner orifice will come right off. I just left the nut in the
burner as this made re-attached easier. Drill it out and reverse above
procedure. Flare fitting should not require doping.
Always a good idea to leak-test